UPS API Announcement
UPS has announced that as of June 3, 2024 all web api requests must go through UPS' new web API. All current users of the Cadacus Shipping Solution UPS web API interface must be on the new API by following the information below before that date.
To know if the current UPS keys are for the old or the new API, look at the length of the access key (not the account or password). If it is 16 characters then it for the old API. If it is longer the 16 characters it is for the new API.
Requirements
The new UPS API has been supported in the Cadacus Shipping Library since May 2023. The switch from the old UPS API to the new one is automatic as the key sizes UPS uses has changed and the system is able to determine if a key is for the old API or the new one.
The latest Cadacus Shipping Library should be installed on the server (at a minimum version 1.1.96.0 is required).
The lastest library should be compatible with most Cadacus SYSPRO releases, however if the library is being upgraded, testing should be done to insure no issues arise.
Changing from the old API to the new one (Disregard if performing a new installation)
The change can be done one of two ways. The information below must be used to receive the new keys before any changes in SYSPRO is performed.
1) Change the keys etc. on an existing carrier account
For step 9 below, use the current acount that is setup in the Cadacus Carrier Account Cross-reference. The new account information will take effect immediately. The previous information should be saved in case any issues arise with the new information.
2) Create a new carrier account
For step 9 below, enter a new account in the Cadacus Carrier Account Cross-Reference. This account can then be used for testing and replace the existing account in the station setups or the Account/Printer Cross-Reference as needed.
Registration
If not already registered at the UPS web site, register at UPS.com and connect an existing UPS account to the online account.
Create a UPS Application
To enable UPS integration, a developer application is first created on the UPS site and a UPS Client ID and Client Secret is received from UPS.
1. Login to My UPS after completing the registration.
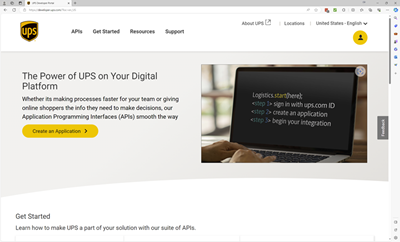
2. Go to https://developer.ups.com. The following page should be displayed. If you are not logged in, it will ask you to log in first.
3. Select "Create an Application". The following page should be displayed.

4. Select "Add Apps". The following page should be displayed.

5. Select "I want to integrate UPS technology into my business" and select the UPS account to associate with the application. Click "Next" to continue to the contact page.
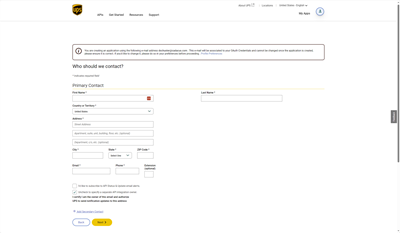
6. Enter appropriate contact information and click "Next" to go to the App Details page.

7. Enter the following information on the displayed web page
- Enter an "App Name" (This can be anything you wish it to be)
- Leave the Callback URL blank
- Select the following products by clicking on the "+" sign on the product
- Authorization (O-Auth)
- Address Validation
- Rating
- Paper less documents
- Shipping
- Tracking
- Click "Save"
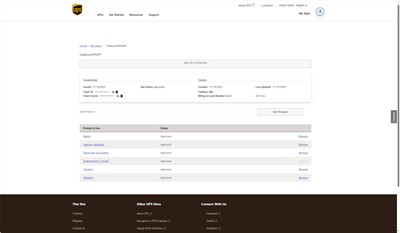
8. A web page similar to the following should be displayed. Use the clipboard icon next to Client ID and Client Secret to save this values to a notepad or other document.
9. Create a new or edit an existing UPS account record in the Carrier Account Cross-reference with the following information in addition to the standard questions
- On "UPS" tab enter the 6 character UPS account number
- On the "UPS Web API" tab enter
- The Client ID as the access key
- The 6 character UPS account number as the account
- The Client Secret as the password